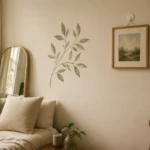
Renter-friendly decor that won’t lose your deposit
May 18, 2026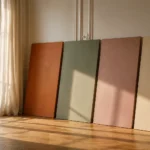
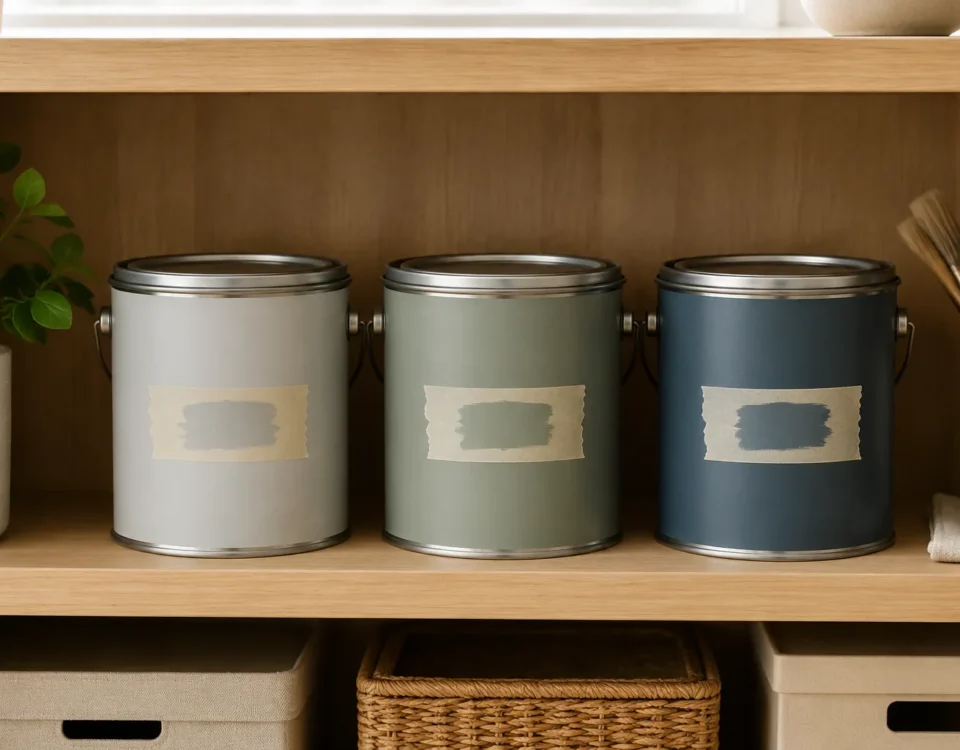
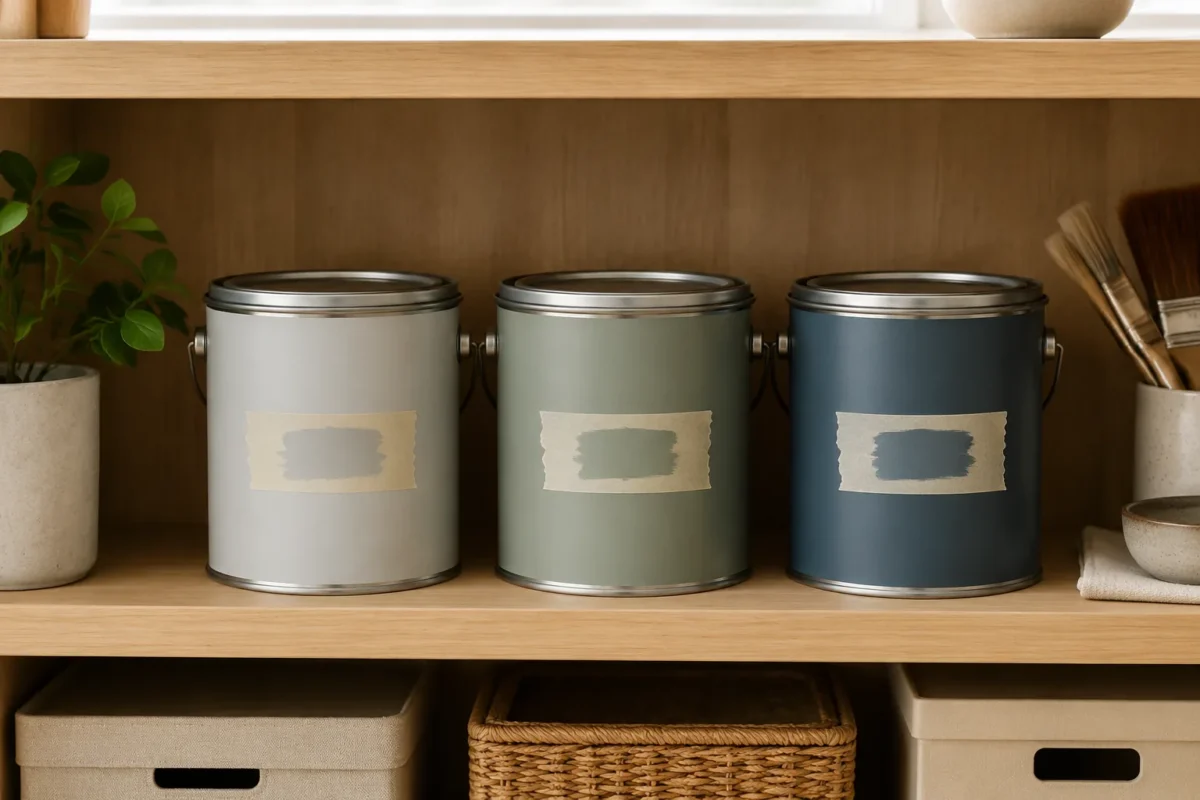
Choose paint colours by the light your room actually gets
May 18, 2026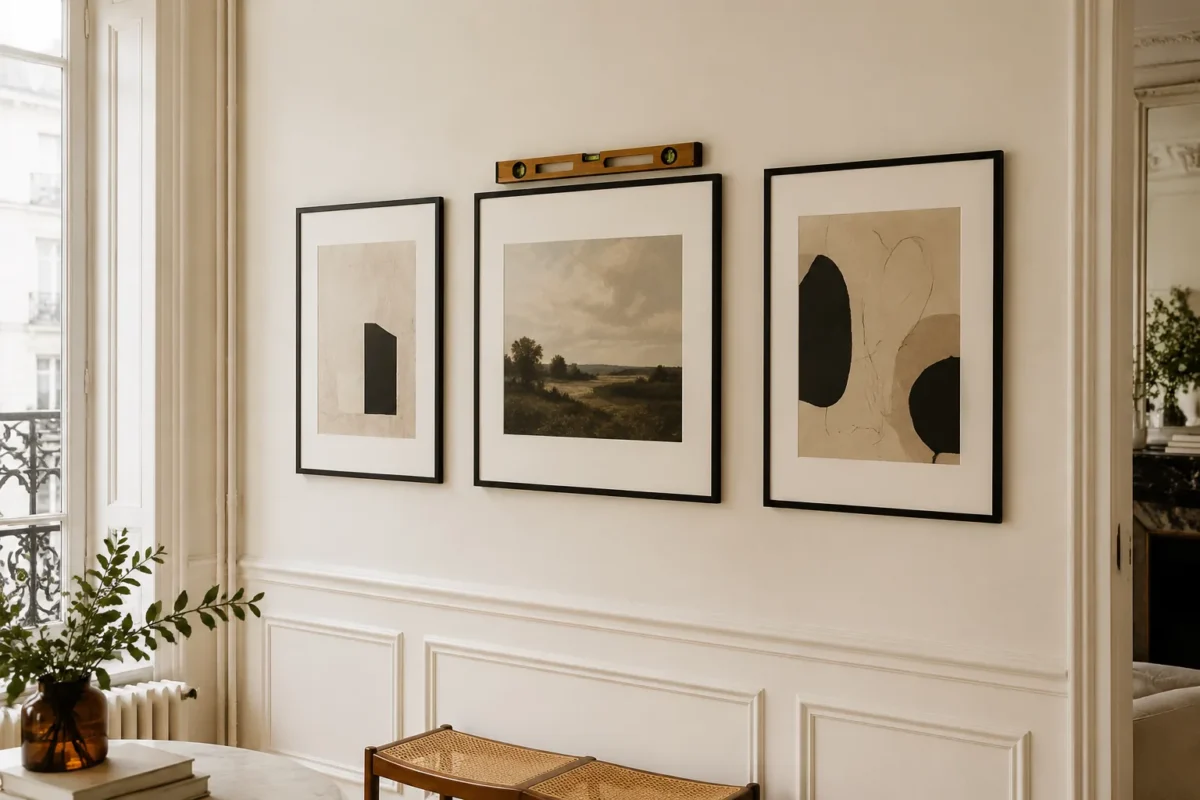
Three rules cover most picture-hanging questions: lay it out on the floor first, hang the centre at 145cm, and match the fixing to the weight.
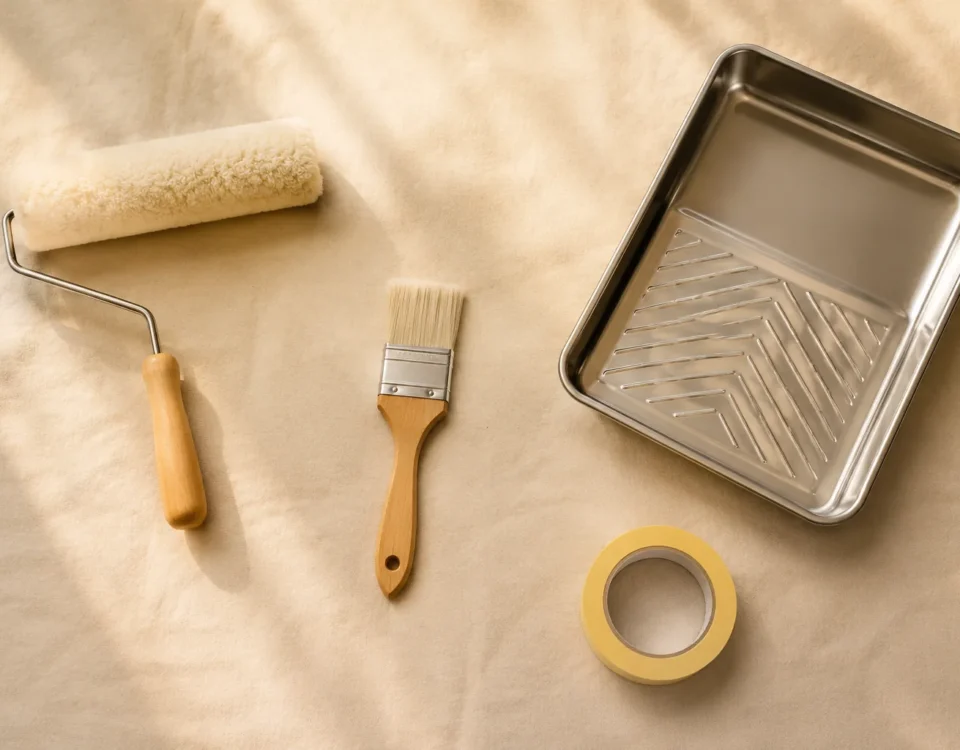
What you need
Our Picture-Hanging Kit (€29) has every nail size, hooks, wire, the spirit level, tape measure, pencils and 30 adhesive removable strips. Plus paper templates for laying out gallery walls.
Single picture: the 145cm rule
The centre of the picture should sit at 145cm from the floor — roughly eye level for the average standing adult. Not ‘centred on the wall’ (too high). Not ‘just above the sofa’ (too low). 145cm to the centre.
- Measure the back of the frame from the top edge to the hanging wire / D-ring at full tension.
- Calculate: floor + 145 + (frame height / 2) – (top-to-wire distance) = nail position.
- Mark with a pencil. Spirit-level if hanging two side by side.
Gallery wall: lay it out on the floor first
This single step prevents 80% of gallery wall mistakes.
- On the floor, with a piece of paper the same dimensions as the wall area you’ll fill, arrange the frames.
- Keep ~6cm of space between frames.
- Mix sizes — alternate large and small.
- Once happy, trace each frame outline onto paper. Cut out the outlines.
- Tape the paper templates to the wall in your chosen layout. Live with it for a day.
- Mark the nail position through each template (top centre, where the wire will sit).
- Remove templates. Hammer nails. Hang.
Nails vs adhesive strips
| Weight | Best fixing |
|---|---|
| Under 1kg (small frame) | Adhesive strip — no hole |
| 1–3kg (medium frame) | Adhesive strip OR small nail |
| 3–10kg (large frame, mirror) | Nail with wall anchor |
| Over 10kg (very large mirror) | Two anchors + picture rail or contact a professional |
Renter note
If your lease prohibits nails: use adhesive strips for everything under 3kg, and skip anything heavier. See renter disclaimer.
