Prep your walls properly before painting (the boring step that defines the finish)
May 18, 2026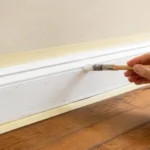
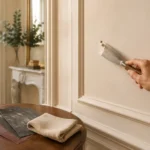
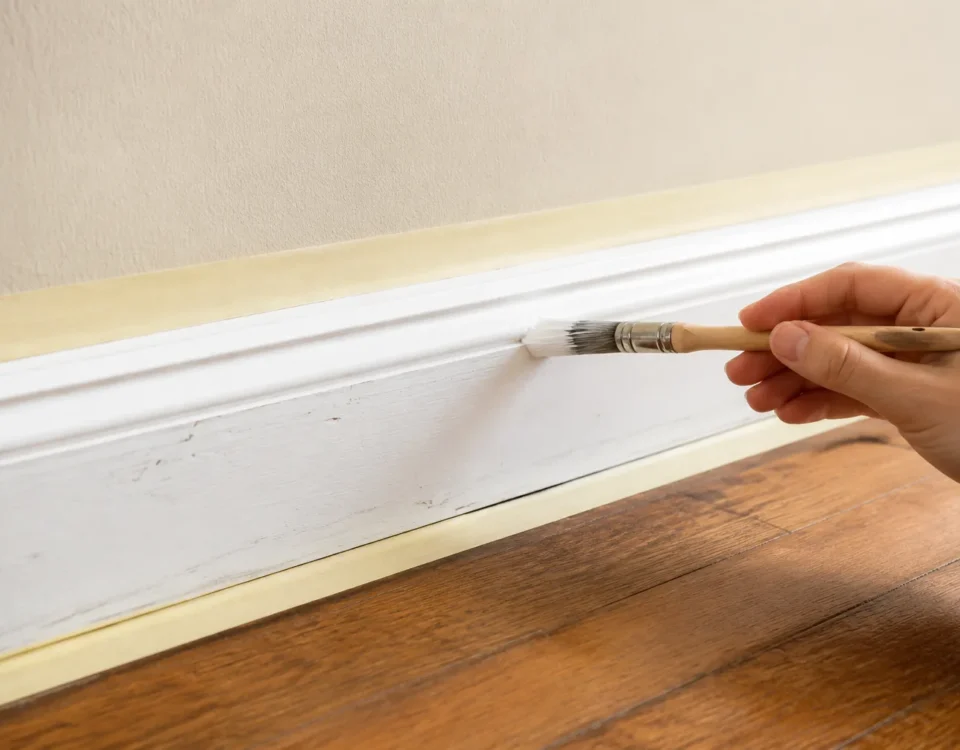
Touch up trim and baseboards without repainting the whole house
May 18, 2026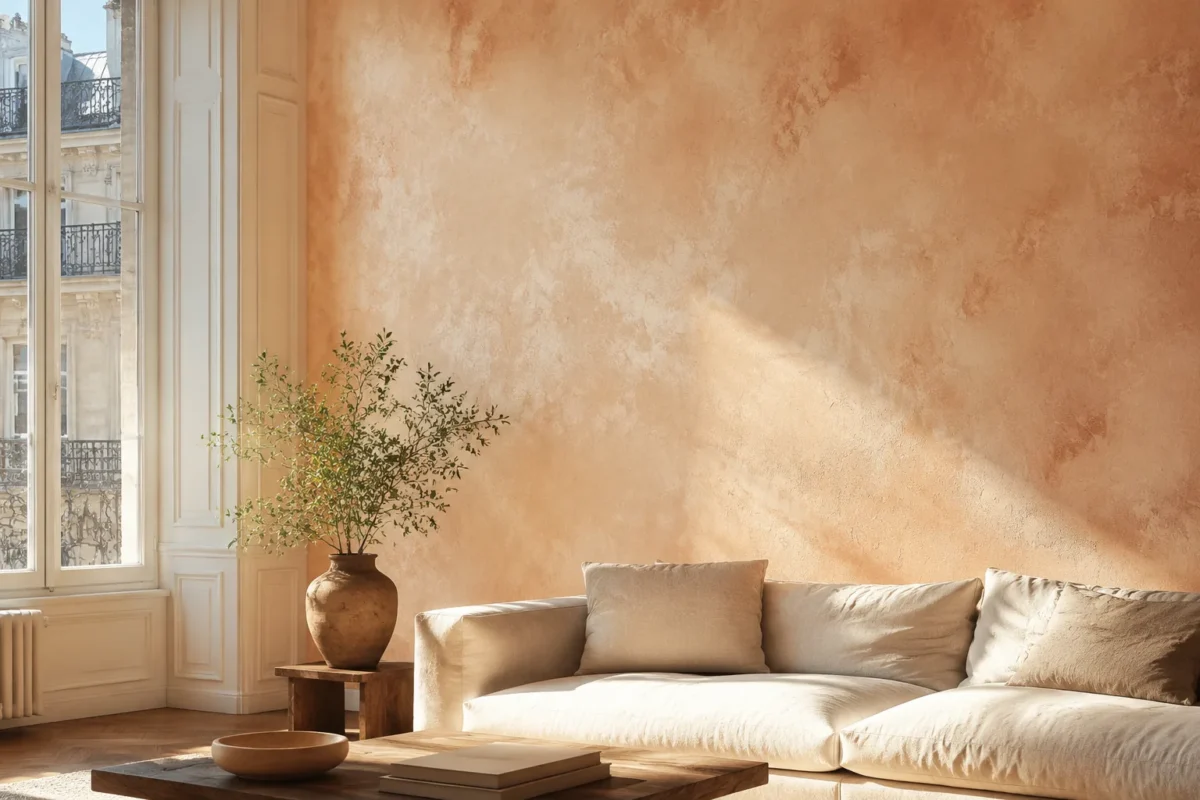
Texture done badly looks like a 1996 motel room. Done well, it adds dimension and softness — like a hand-finished plaster wall in a Paris apartment.
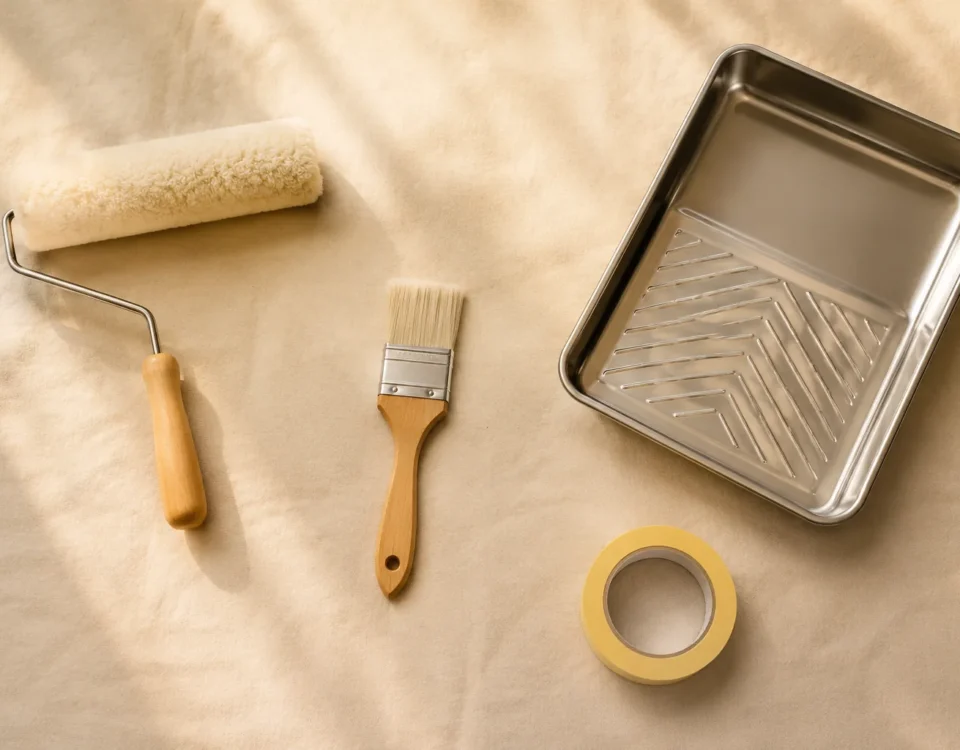
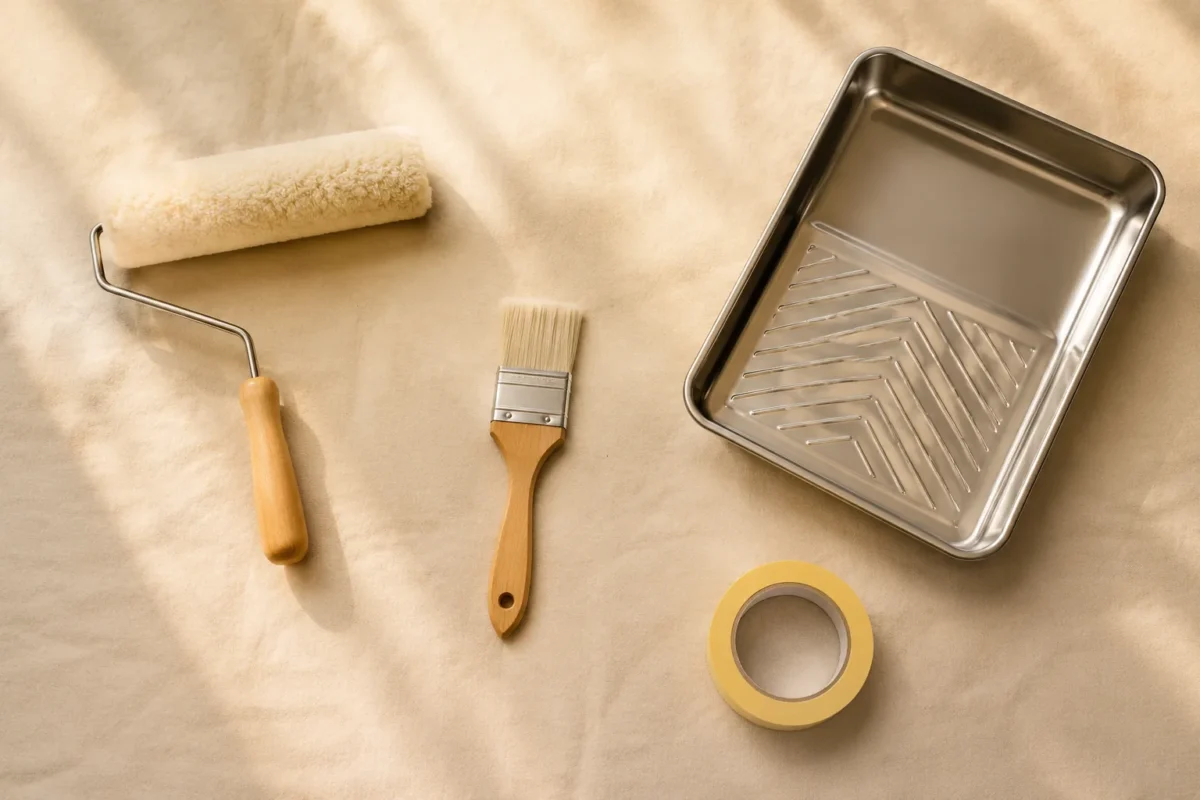
What you need
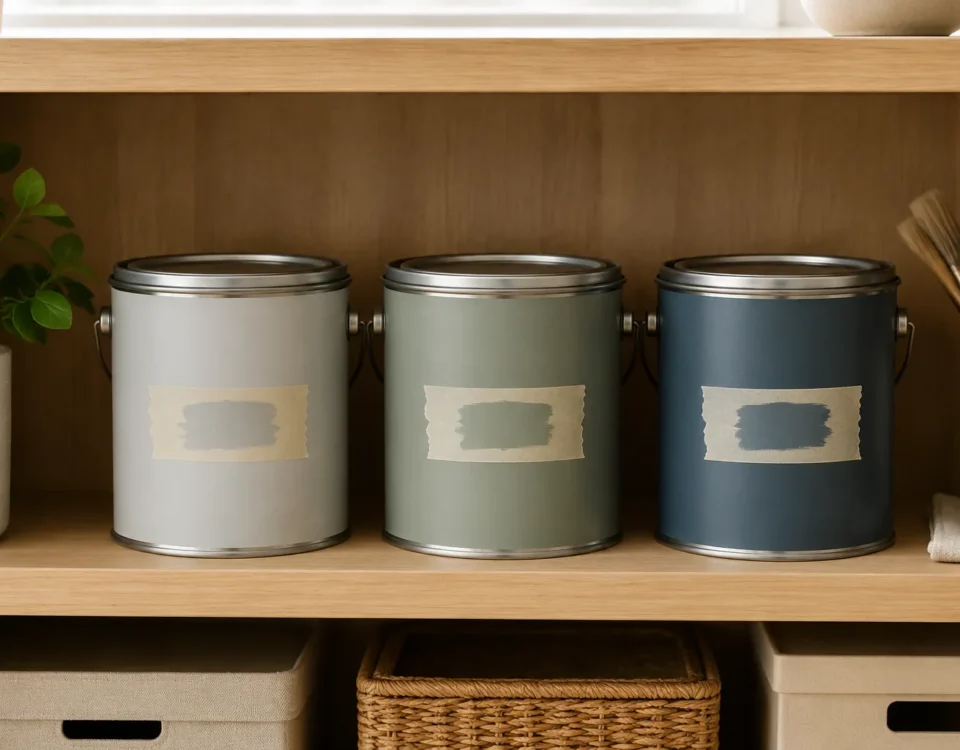
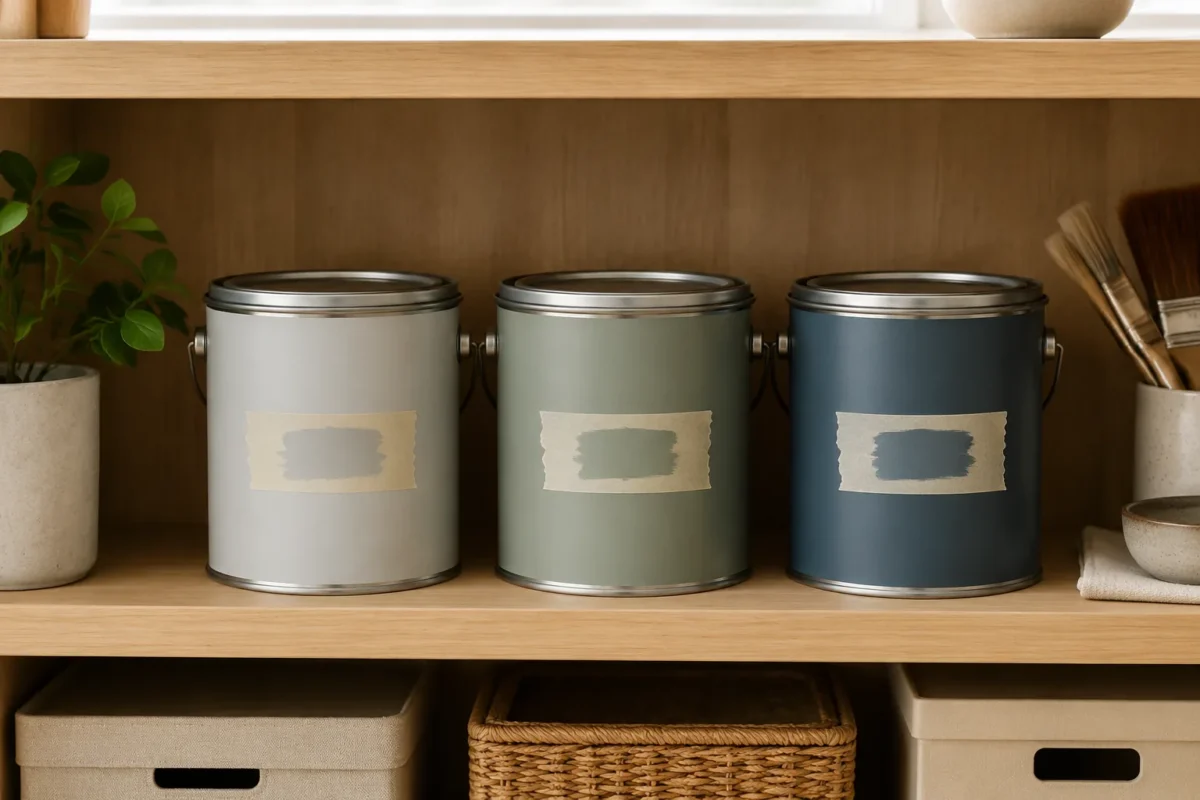
Our Texture Wall Kit (€59) has four sponge texture rollers, two combs, four stencils, a paint tray and a drop cloth. Plus your chosen interior paint.
Technique 1: subtle stippling
Effect: a soft, hand-finished plaster look. Best on a single accent wall or in entryways.
- Apply two base coats of your wall colour. Let cure 24 hours.
- Mix a slightly darker glaze (mostly water + a few drops of darker paint).
- Lightly load the stippled sponge roller. Roll randomly across the wall in small sections.
- Before each section dries, dab a clean sponge to break the pattern.
Technique 2: sponge layering
Effect: depth and movement like washed plaster. Best in bedrooms or dining rooms.
- Base coat in the lightest colour of three. Cure 24 hours.
- Sponge the second (mid-tone) colour with the sea-sponge texture roller — light, irregular pressure.
- Cure 24 hours.
- Sponge the third (deepest) colour very lightly — just for accent depth.
Technique 3: comb pattern
Effect: bold, geometric, modern. Best on a small accent wall or feature panel.
- Apply two base coats of your wall colour. Cure 24 hours.
- Apply a single coat of glaze (contrasting colour mixed with glaze medium).
- While wet, drag the comb tool through the glaze in straight vertical or horizontal lines. Wipe the comb between strokes.
- Let dry fully — texture remains visible.
What to skip
- Heavy ‘orange peel’ or ‘knockdown’ textures — they date the room and trap dust.
- Painting over textured wallpaper — it’s a 30-year commitment.
- Stencils that look like wallpaper — just hang wallpaper if you want a pattern.
