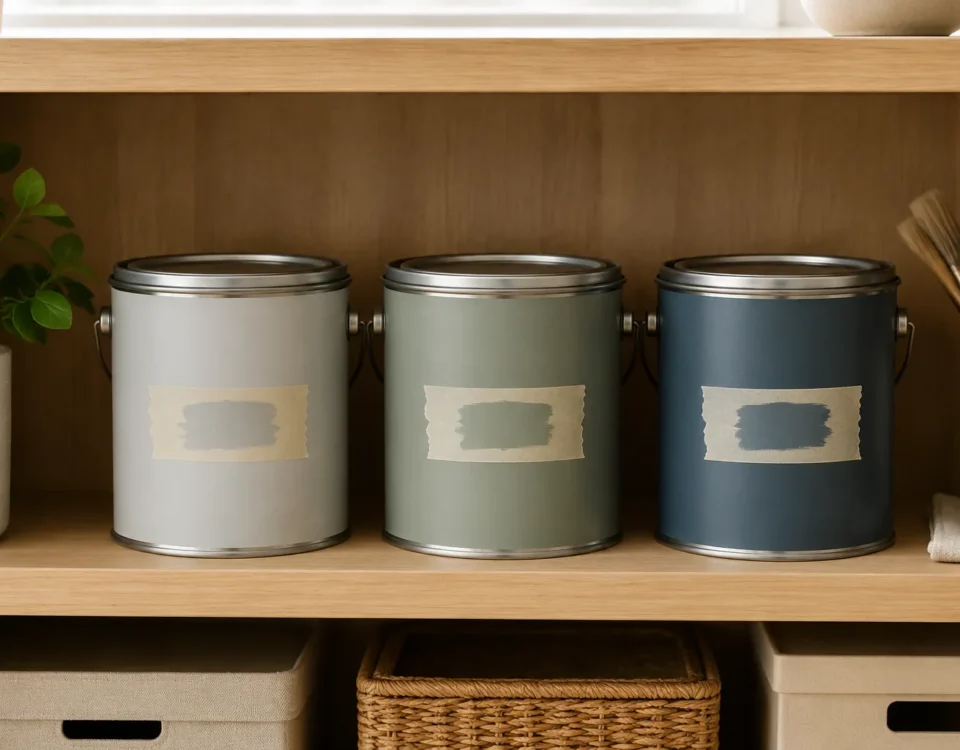
Choose paint colours by the light your room actually gets
May 18, 2026
Three texture wall techniques that don’t look like a 1990s sitcom
May 18, 2026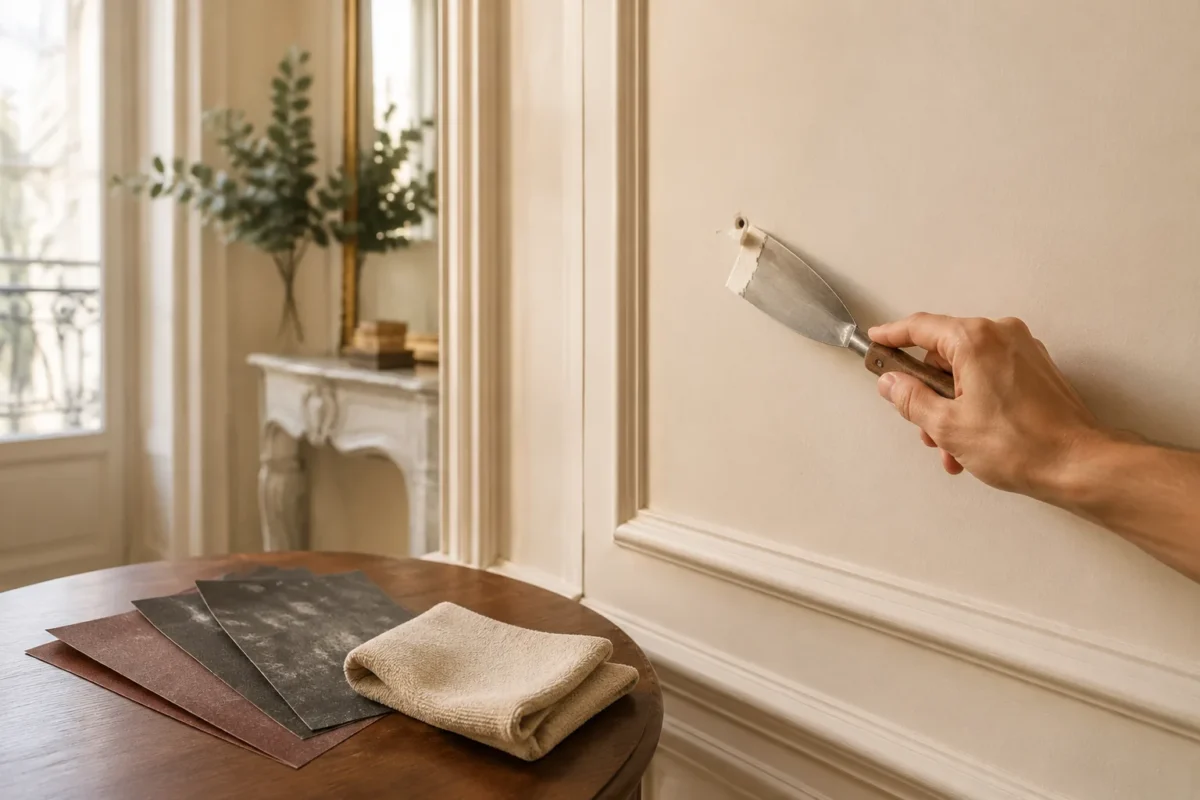
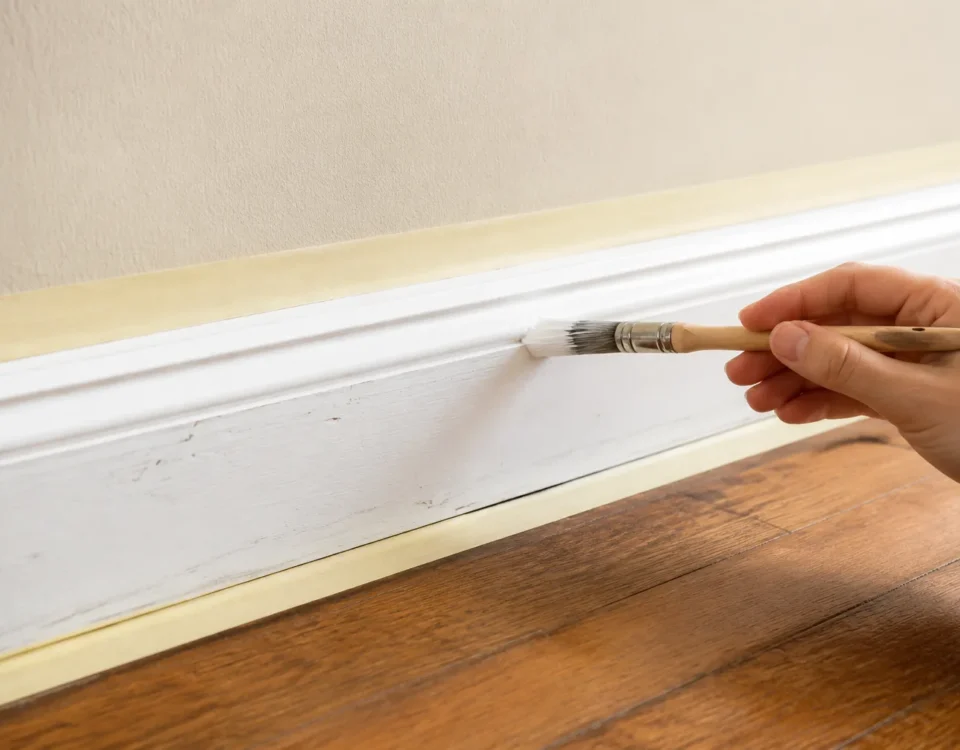
If you skip prep, the finish will tell on you. Lumps under fresh paint catch the light. Greasy patches show as dull spots. A nail hole filled badly is invisible until painted, then becomes the only thing you see.
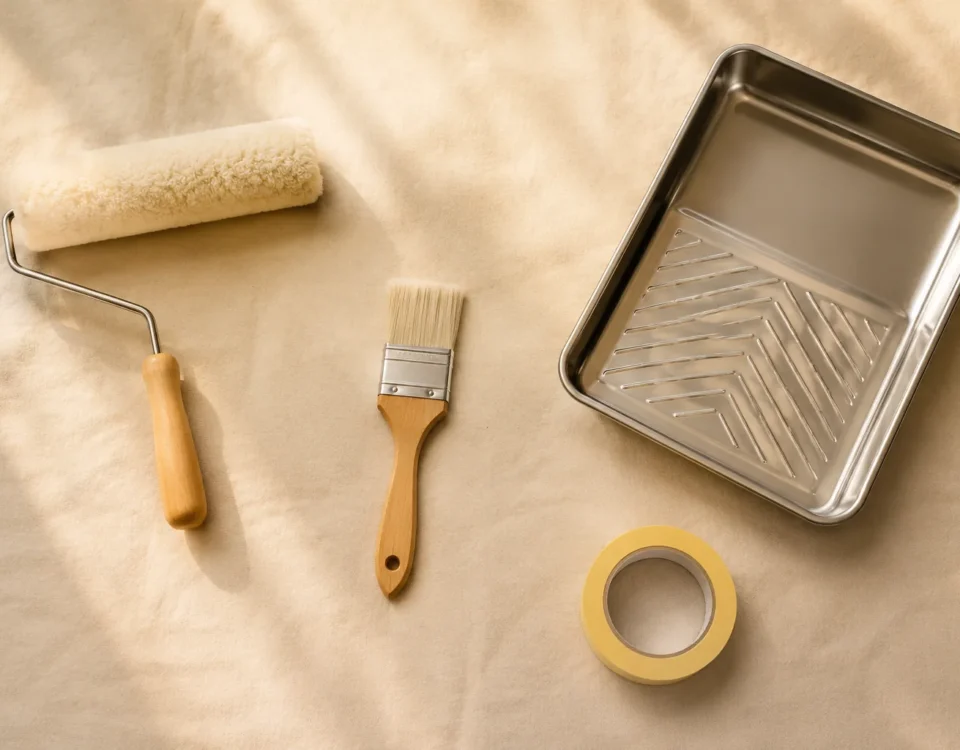
What you need
Ready-mix wall filler, fine-grit sandpaper (180/240), a putty knife, microfiber cloth, dish soap. Mild primer if changing from dark to light colours.
The five steps
1. Inspect in good light
Bring a lamp. Look for nail holes, hairline cracks, lumps from old filler, greasy patches near light switches, scuffs near floor level. Mark each with a pencil dot.
2. Fill
For nail holes and small cracks: press ready-mix filler in with the putty knife. Scrape excess flush with the wall. Let dry per label (usually 2 hours). For deeper holes: fill in two passes — let the first cure overnight.
3. Sand
Once filler is dry, sand the filled spots smooth with 180-grit sandpaper. Then lightly sand the whole wall with 240-grit — this knocks down any old paint texture and gives the new paint something to grip. Wipe dust off with the microfiber cloth.
4. Wash
Wipe the wall down with a damp cloth + a drop of dish soap. Pay attention to: around light switches (fingerprints), kitchen walls (grease), kitchen near stove (cooking residue), kids’ bedrooms (just everything). Let dry fully — at least 2 hours.
5. Prime (sometimes)
Most modern paints are self-priming if you’re going light-to-light. If you’re: covering a dark colour, painting fresh plaster, or covering water stains — use a primer coat first.
Skip if
- Walls are brand new (under 30 days plaster) — let them cure fully and check with a moisture meter.
- Existing paint is glossy oil-based — needs scuff-sanding AND a bonding primer. Test for compatibility.
